

Before we move on to setting up a web/ftp server, we need to resolve your domain name (eg. johnsmith.homeip.net) to your static IP (eg. your server IP).
What you need:
- PC
- An always-on broadband internet connection
Here’s how:
Step 1. Set up your DynDNS.com account.
Register an free account with DynDNS. Log into your new account. Go to the “My Services” area on the left side. Under “Host Level Services” click “Add Host Services.” There, click “Add Static DNS Host.” DynDNS will autofill your IP address (if you’re doing this from your home computer). Choose a domain and type in a custom subdomain, which can be anything from xyxy.kicks-ass.org or john.is-a-geek.com or xxxx.dyndns.org, like below:

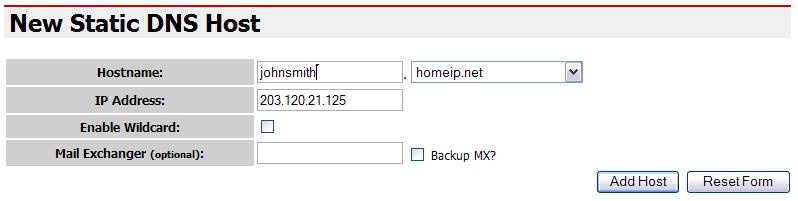
Step 2. Set up your computer to update DynDNS.
Now that your computer is registered with DynDNS, each time your computer’s IP address changes, it has to let DynDNS know. This can be done either with free updater client software or through your router.
If your computer is connected directly to the Internet, download the DynDNS updater client. Install and enter your DynDNS information so that your computer can update DynDNS’s database regularly.
Step 3. Done!
Type your new domain name by entering it in your web browser’s address bar. It should resolve to your home server. From here you can publicize or bookmark your server’s new domain name no matter how often your IP address changes.
posted by hacks | 8:19 PM
![]()
0 Comments:
Post a Comment
<< Home